Technical Training Module 05
Wire, Terminal and Connector Repair
A repair page for connector inspection, terminal drag, wire damage, crimp quality, solder risk, sealing, and final verification.
voltagecurrentresistancegroundECUignitionbatteryalternator
What This Lesson Teaches
Objective 01
Inspect terminals for fit, retention, corrosion, and heat damage.
Objective 02
Select repair wire and terminals that match the circuit current and connector family.
Objective 03
Crimp, seal, and route repairs so the harness survives vibration and heat.
Objective 04
Verify the repair with a loaded circuit test, not just continuity.
How The System Works
A connector remains reliable only when the correct terminal is locked at the proper depth, its contact spring grips the mating pin, and the seal and strain relief keep moisture and movement away from the conductor. In Toyota/Lexus swap harnesses, a pushed-back pin, spread female terminal or partially seated secondary lock can interrupt a low-current ECU signal even when the wire passes an unloaded continuity check.
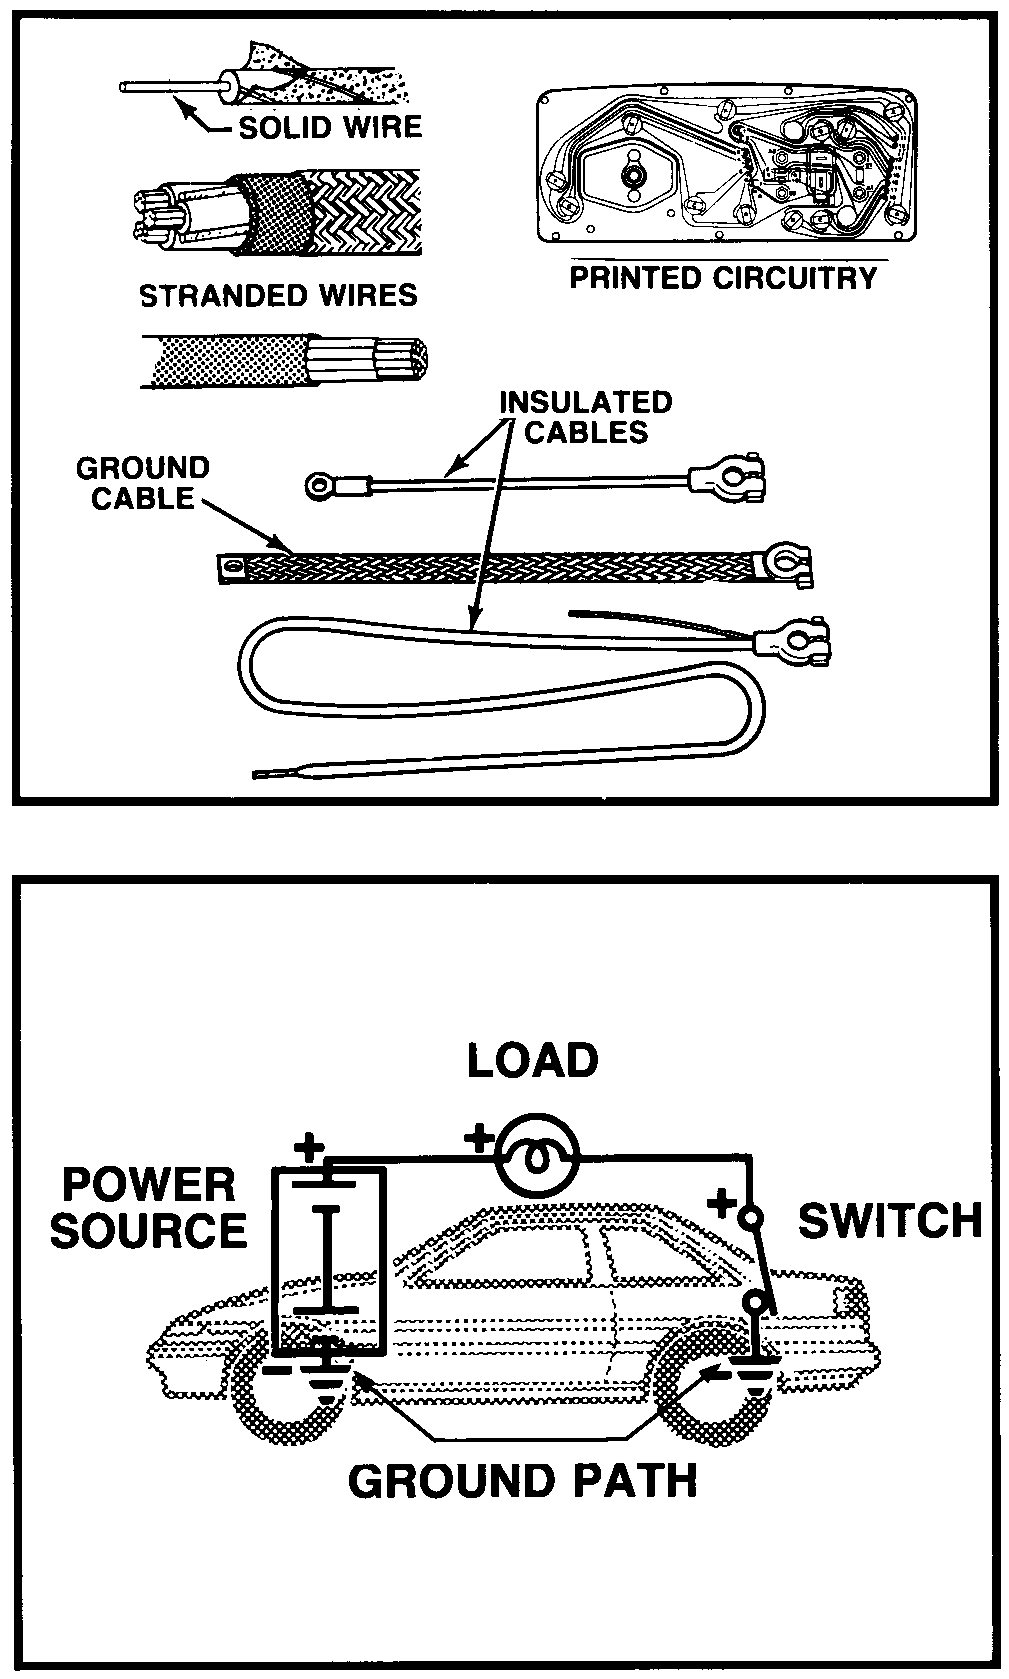
A durable repair restores the original conductor size, insulation rating, terminal family, crimp geometry, seal and branch routing. Use the specified open-barrel crimp tooling and an approved splice method for the harness; do not add solder to an OEM crimp unless the repair information calls for it. Prove the result with terminal retention, insulation/isolation checks and a loaded voltage-drop or signal test in the vehicle.
Step By Step Test Procedure
01Identify the connector and cavity
- Confirm the connector face, cavity orientation and circuit from the matching diagram and harness label; disconnect power and release the lock without pulling on the wires.
02Inspect both connector halves
- Check for pushed-back pins, spread contacts, fretting, corrosion, heat damage, fluid entry, damaged seals and an unsecured secondary lock.
03Check depth and terminal drag
- Compare terminal depth with adjacent cavities and perform a gentle retention or drag check using the correct mating-terminal gauge; never use an oversized probe.
04Prove the isolated circuit
- Check end-to-end continuity plus shorts to ground, power and adjacent circuits while flexing the suspect branch; record changes rather than relying on one static reading.
05Make the matched repair
- Replace damaged wire, terminal and seal with matched parts and approved tooling; maintain conductor length, splice staggering, strain relief, heat protection and branch routing.
06Reassemble and load-test
- Verify each terminal locks, reconnect the circuit and repeat the commanded voltage-drop or signal test; confirm the related scan data or DTC does not return.
Expected Readings And What They Mean
| Check | Expected Evidence | Diagnostic Meaning |
|---|
| Terminal depth and retention | Terminal sits level with matching cavities, locks securely and has drag comparable with an undamaged mate | Push-back or weak drag indicates a damaged terminal, lock or housing. |
|---|
| Isolated circuit while flexed | Continuity remains stable and within factory specification | A changing or open reading identifies broken strands, a poor splice or terminal fault. |
|---|
| Loaded voltage drop across repair | Remains within the factory allowance with no heating | Excess drop indicates a resistive crimp, corrosion or undersized conductor. |
|---|
| Isolation from ground or adjacent circuits | No continuity unless the wiring diagram shows an intentional path | Unintended continuity identifies trapped strands, insulation damage or a cross-connection. |
|---|
Use This Carefully
This training page is an independent Lexus V8 Engines LLC rewrite for educational and diagnostic support. Lexus V8 Engines LLC is not affiliated with or endorsed by Toyota Motor Corporation. Always use the correct factory service information for final specifications, safety procedures, and vehicle-specific wiring.